
Yin yoga is a style of yoga that focuses on holding poses for extended periods, typically between 3 to 5 minutes, or even longer. It is a slower-paced form of yoga that emphasizes the deeper connective tissues of the body—like the fascia, ligaments, joints, and bones—rather than the muscles, which are the main focus in other, more dynamic yoga styles.
While many forms of yoga, such as Vinyasa Yoga or Hatha Yoga, work on stimulating muscular strength and flexibility, Yin yoga targets the body’s deeper structures, encouraging relaxation and the release of tension that may be stored in the fascia. It’s a practice that works with the natural energy and flow of the body, often described as a meditative approach to movement.
This article will provide a comprehensive exploration of Yin yoga, including its history, key principles, the benefits it offers, and tips for getting started.
The Origins of Yin Yoga:
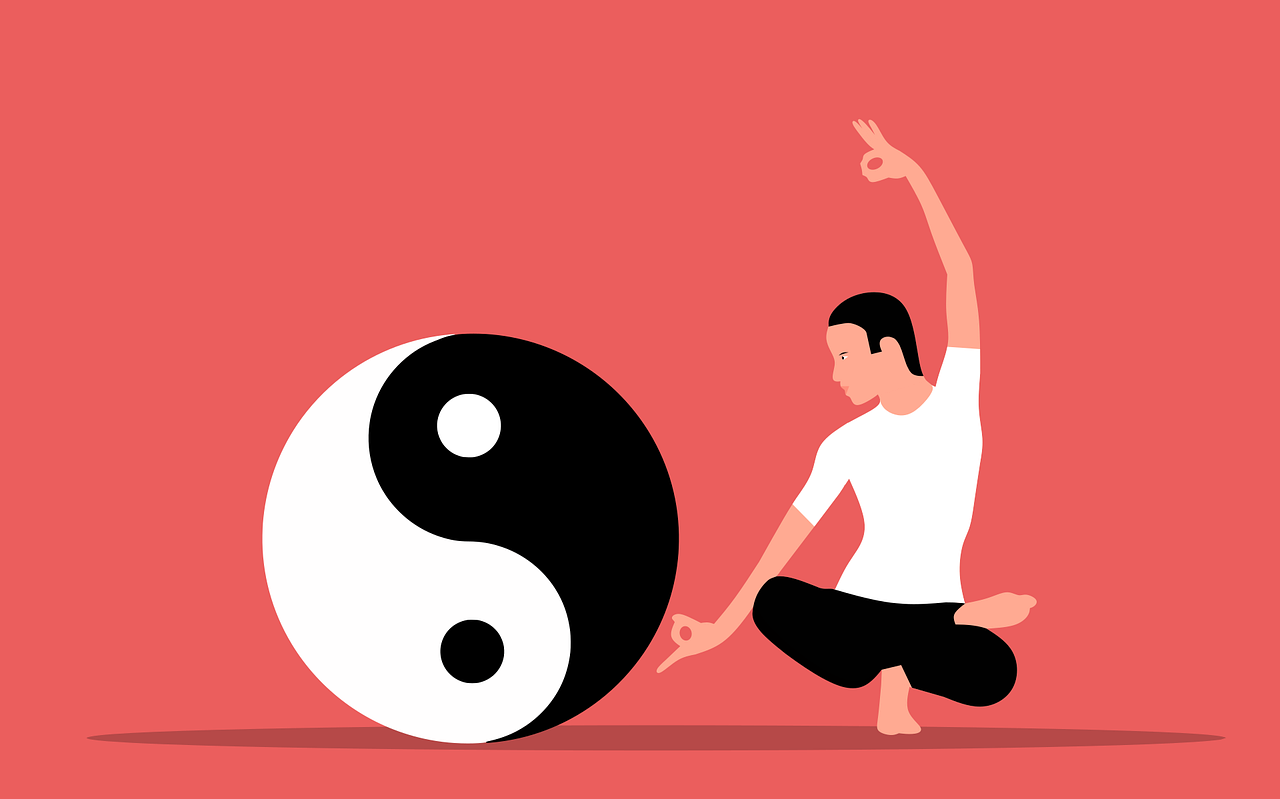
Yin yoga is relatively modern compared to other styles of yoga, but its roots are deeply intertwined with traditional Chinese medicine and Taoist philosophy. It draws on concepts of Yin and Yang, which are fundamental to Chinese cosmology.
Yin and Yang: In Taoism, Yin represents the passive, receptive, and still aspects of existence, while Yang represents the active, dynamic, and energetic aspects. In Yin yoga, the focus is on the Yin qualities: stillness, patience, and deep connection to the body.
Yin yoga was popularized by Paul Grilley in the late 20th century. Grilley, a yoga teacher, was influenced by the teachings of Taoist yoga and Chinese medicine, as well as his studies with teachers such as Desikachar and other figures in the world of yoga. He developed a system where yoga poses are held for longer durations, promoting a deeper, more meditative experience.
Another influential figure in the development of Yin yoga is Sarah Powers, who merged traditional Yin practice with elements of mindfulness and Buddhist philosophy, thereby expanding its scope to include emotional and spiritual healing.
Key Principles of Yin Yoga:
1. Long Holds:
In Yin yoga, poses are typically held for 3 to 5 minutes or longer. This extended duration allows for deep release of tension and facilitates a greater stretch in the deeper tissues of the body, particularly the fascia. Unlike more active forms of yoga where poses are held briefly, Yin yoga encourages stillness to foster patience and mindfulness.
2. Targeting Connective Tissues:
While other yoga practices tend to emphasize muscular flexibility, Yin yoga focuses on the connective tissues: ligaments, tendons, joints, and fascia. These tissues are less elastic than muscles, and they require more time to stretch and release. Yin poses are designed to stimulate the deeper tissues by gently stressing them, allowing for increased mobility and health in the joints and ligaments.
3. Muscle Relaxation:
In contrast to many other forms of yoga, Yin yoga encourages relaxation of the muscles. This approach helps the body access the deeper layers of connective tissue. When muscles are relaxed during a pose, the body can stretch and release the fascia and ligaments more effectively.
4. Mindfulness and Meditation:
Yin yoga is deeply meditative. The extended holds encourage practitioners to tune into their breath, sensations, and the body’s signals. This creates a space for mindfulness, where one can observe thoughts and feelings without attachment or judgment. This makes Yin yoga an excellent practice for cultivating emotional awareness and mental clarity.
5. Adaptability:
Yin yoga is accessible for people of all fitness levels. The use of props such as blocks, blankets, and bolsters can provide extra support, making it possible for practitioners with injuries or flexibility limitations to practice comfortably. Yin yoga is not about pushing your body into extreme positions but rather finding your own edge and settling into the pose with ease and comfort.
The Benefits of Yin Yoga:
1. Increased Flexibility:
By targeting the connective tissues, Yin yoga helps increase flexibility and mobility, particularly in the hips, spine, and shoulders. The longer holds create a gentle and sustained stretch that gradually lengthens tissues, leading to more flexibility over time.
2. Joint Health:
Yin yoga can improve joint health by promoting better circulation and lubrication of the joints. The slow, sustained movements open up the joints and allow the body to move more freely. This is particularly beneficial for people with stiff or tight joints.
3. Stress Relief and Relaxation:
One of the most significant benefits of Yin yoga is its ability to promote relaxation. The stillness and focus on breath work reduce the body’s stress response and activate the parasympathetic nervous system, which is responsible for calming the body. Many practitioners report feeling deeply relaxed and centered after a Yin yoga session.
4. Emotional Balance:
Yin yoga allows for the release of emotional tension that may be stored in the body. The practice encourages practitioners to confront and process emotions that arise during the long holds. This can lead to greater emotional stability and balance.
5. Improved Circulation:
The slow and deep stretches of Yin yoga enhance blood flow to the deep tissues, improving circulation. This is beneficial for overall health and aids in the removal of toxins from the body.
6. Mindfulness and Inner Peace:
Because of its meditative nature, Yin yoga helps cultivate mindfulness. It encourages practitioners to become more present, observant, and aware of their thoughts, feelings, and sensations. This process of mindful awareness can help bring inner peace and a sense of calm.
10 Best Yin Yoga Poses:
Yin yoga is all about slow, long-held stretches that target the deeper connective tissues like ligaments, tendons, fascia, and joints. It is often used to complement more dynamic forms of yoga or exercise. The focus in Yin yoga is on long holds (typically between 3-5 minutes) and using props like blankets, blocks, and bolsters to support the body in deeper stretches.
Here are some of the best Yin yoga poses that are excellent for deep relaxation, flexibility, and overall well-being:
1. Butterfly Pose or Baddha Konasana:
Benefits:
- Opens the hips and groin.
- Stretches the inner thighs.
- Relieves tension in the lower back.
How to do it:
- Sit on the mat with your legs extended in front of you.
- Bring the soles of your feet together and allow your knees to drop out to the sides.
- Hold onto your feet with your hands, and if possible, gently fold your torso forward towards your feet.
- Allow gravity to deepen the stretch, and stay for 3 to 5 minutes. Use props like blocks or cushions under your knees for extra support.
2. Child’s Pose or Balasana:
Benefits:
- Stretches the back, hips, and thighs.
- Calms the nervous system.
- Provides a gentle release for the lower back.
How to do it:
- Start in a kneeling position with your big toes touching and knees apart.
- Sit back onto your heels and then stretch your arms forward, bringing your forehead to the mat.
- Allow your hips to relax toward your heels and keep your arms extended in front of you, or place them by your sides.
- Hold for 3 to 5 minutes, focusing on deep breaths to release tension.
3. Sphinx Pose or Salamba Bhujangasana:
Benefits:
- Gently opens the chest, shoulders, and abdomen.
- Stretches the spine and helps to improve posture.
How to do it:
- Lie on your stomach with your forearms on the mat, elbows under the shoulders.
- Press the tops of your feet into the mat, and engage your legs to lengthen your spine.
- Lift your chest slightly, creating a gentle backbend, but ensure that you do not over-arch your lower back.
- Hold for 3 to 5 minutes, using deep breathing to relax into the pose.
4. Swan Pose or Modified Pigeon Pose:
Benefits:
- Deep stretch for the hips, glutes, and lower back.
- Opens the hip flexors and quadriceps.
How to do it:
- Begin in a tabletop position (on hands and knees).
- Bring your right knee forward, placing it near your right wrist while extending your left leg back behind you, with the top of the foot resting on the mat.
- Keep your hips squared to the mat and your back leg extended.
- Lower your torso down to the floor (use props for support if needed), staying in the pose for 3-5 minutes before switching to the other side.
5. Cat-Cow Pose or Marjaryasana-Bitilasana:
Benefits:
- Stretches the spine and warms up the body.
- Mobilizes the spine and helps to relieve tension in the back.
How to do it:
- Start in a tabletop position with wrists under shoulders and knees under hips.
- On an inhale, drop the belly towards the mat, lift your chest, and arch your back into cow pose.
- On an exhale, round your spine, tuck your chin toward your chest, and move into cat pose.
- Continue moving slowly between these two poses, holding each position for 3-5 breaths, and focus on the lengthening and release in your spine.
6. Forward Fold or Paschimottanasana:
Benefits:
- Stretches the hamstrings, lower back, and spine.
- Promotes a calming effect on the mind.
How to do it:
- Sit with your legs extended straight in front of you.
- Inhale to lengthen your spine, and as you exhale, slowly fold forward over your legs.
- Keep a slight bend in the knees if necessary to avoid straining your lower back.
- Use blocks under your knees or for support if needed, and hold the pose for 3 to 5 minutes while breathing deeply.
7. Happy Baby Pose or Ananda Balasana:
Benefits:
- Opens the hips and groin.
- Relieves lower back tension and promotes relaxation.
How to do it:
- Lie on your back and bring your knees toward your chest.
- Grab the outer edges of your feet with your hands, and allow your knees to gently fall out to the sides.
- Keep your feet flexed and draw your knees toward the floor on either side of your torso, keeping the spine relaxed and flat on the mat.
- Hold for 3 to 5 minutes, and allow the hips to open fully with each breath.
8. Legs Up the Wall or Viparita Karani:
Benefits:
- Great for relaxation and stress relief.
- Improves circulation and relieves swelling in the legs and feet.
How to do it:
- Sit with your left side against a wall and then lie back, extending your legs up the wall.
- Place a bolster or cushion under your hips for extra support.
- Let your arms rest by your sides, palms facing up, and breathe deeply to release tension.
- Stay for 5 to 10 minutes, allowing your body to fully relax and restore.
9. Dragon Pose or Lizard Pose:
Benefits:
- Deep hip opener that targets the hip flexors, quads, and hamstrings.
- Stretches the groin and helps to open the inner thighs.
How to do it:
- Start in a low lunge position with your right leg forward and your left leg extended back.
- Bring both hands to the inside of your right foot, and either stay on your hands or lower your forearms to the mat.
- Press your hips down and forward to deepen the stretch, and hold for 3-5 minutes.
- Switch sides after the hold.
10. Seal Pose or Viparita Salamba Bhujangasana:
Benefits:
- Opens the chest and shoulders.
- Gently stretches the lower back and improves spinal flexibility.
How to do it:
- Start by lying on your stomach with your elbows bent and your forearms on the mat.
- Press the tops of your feet into the floor and slowly lift your chest, coming into a backbend.
- Your elbows should remain bent, and your arms should provide support as you open the chest.
- Hold the pose for 3-5 minutes, using deep breaths to relax further into the stretch.
These Yin yoga poses are ideal for releasing deep-seated tension in the body, improving flexibility, and promoting relaxation. Yin yoga is not about forcing the body into deep stretches but rather allowing gravity to help open up the connective tissues over time, bringing balance to both the body and mind.
As always, listen to your body and be mindful of any discomfort during your practice. Yin yoga encourages patience, so take your time and enjoy the process of deeply nourishing your body and mind.
How to Practice Yin Yoga:
1. Prepare the Space:
Since Yin yoga is about slowing down and deepening your practice, it’s essential to create a calming environment. Set up your mat in a quiet space, dim the lights, and use props such as blocks, blankets, and bolsters to support your practice.
2. Breathe Deeply:
In Yin yoga, your breath is an essential tool for relaxation. Breathe slowly and deeply into your belly, using the breath to help you relax into each pose. Focus on the sensations in your body and try to release any tension with each exhalation.
3. Listen to Your Body:
Yin yoga is about finding your edge—not pushing past it. Only go as deep into each pose as feels comfortable, and allow your body to relax and open up gradually. The idea is not to force the stretch but to allow it to unfold naturally.
4. Stay Still and Focused:
Once in a pose, stay as still as possible. This stillness allows you to tune into the deeper sensations of your body and the subtle energy shifts that occur during the long hold. Focus on your breath and stay present in the moment.
5. Practice Patience:
Yin yoga requires patience. The long holds can feel intense at first, but over time, your body and mind will become accustomed to the stillness and the deep stretches. Allow yourself to let go of any expectations or judgments and simply be in the experience.
Conclusion:
Yin yoga offers a powerful counterpoint to more dynamic forms of yoga, focusing on deep, sustained stretches, mindfulness, and relaxation. It offers benefits not only for the body—improving flexibility, joint health, and circulation—but also for the mind and emotions. As a practice of stillness, Yin yoga encourages mindfulness, emotional release, and mental clarity, making it a valuable tool for cultivating inner peace and balance.
Whether you’re new to yoga or a seasoned practitioner, incorporating Yin yoga into your routine can deepen your connection to your body and mind. So, roll out your mat, settle in, and embrace the slow and nurturing practice of Yin yoga.
You May Also Like

Iyengar Yoga: Precision, Ali ...
30 June 2025
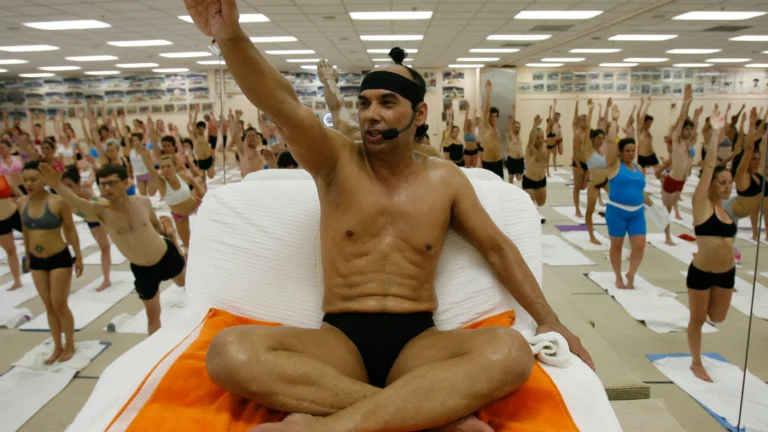
Bikram Yoga: A Comprehensive ...
30 May 2025

Standing Yoga Poses: A Compr ...
15 May 2025
About Us
upashanayoga.com is the home of yoga. Here in upashanayoga.com we describe a lot of about yoga you never ever knew about.


Leave a Comment